
A lidded project is one that requires you to measure the box's sides and perimeter. The box and lid are usually cut from the same 2-in thick seasoned block of wood. Start by cutting a foot along one side of the wood to square the base. The center of the base needs to be recessed a bit, as the final box will sit on it alone. The recess can be cut with a small tool.
Hollowing end grain in lidded cabinets: challenges
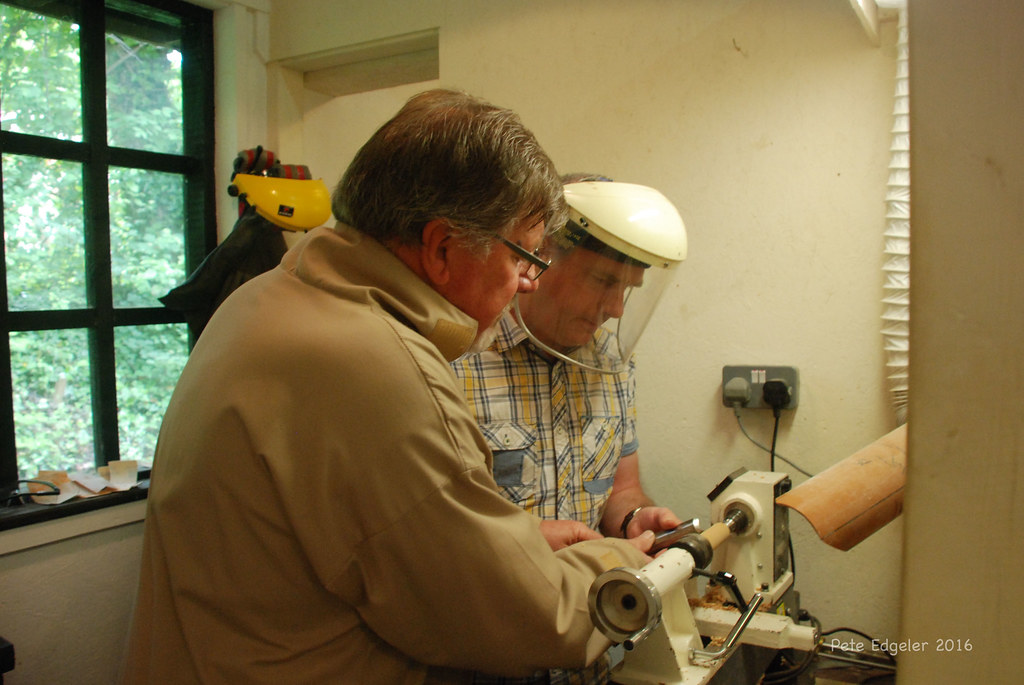
Hollowing end grain is a common problem in box-making. This is a complex process that requires specialist tools. You may be able to make a basic hollowing tool for around $30 by grinding an old screwdriver. Alternativly, you could buy a gouge that can be used for this purpose. The key to hollowing end grain is to avoid using sharp edges. A gouge should have an oval shape fingernail and a long flat bevel.
One of the biggest challenges of hollowing end grain is that it is five times harder than side grain. It can also be prone to tearing out. It is this reason that even skilled bowl turners have difficulty hollowing end grain. Although this can help to overcome the problem, you should know that special end-grain tools are often required for lidded box.
Techniques for making a snap-fit lidded box
A snap-fit lidded boxes is a container with a sliding seal. These boxes often contain liquid or other liquid-filled containers. They are easy to assemble or disassemble, and can even be automated for low assembly cost. There are many snap-fits, so engineers need to choose the most cost-effective, strong, and reliable. This article will provide an overview of all types of snap-fits.
The upper portion of a 3-D printed snap-fit lidded cardboard box should be designed with the correct measurements. The base must be in line with the upper portion. The lid should stay in place when seated. The lid should fit snugly. This can be achieved by removing wood in small steps. Although this may seem difficult, it is well worth the effort.
Wooden used to make lidded boxes

You can salvage wood from trees to make the different types of wood used in lidded boxes. After the tree has been cut, it is dried to prevent cracks. The wood is then dried again, making it shrink. Depending on the style, the lidded boxes can be made of different wood types. Generally, a lid is made of two pieces - one is smaller than the other.
The lathe turned small circular containers into lids. Boxwood is a slow-growing wood with fine parts and a close grain. Because the grain was so close together, this wood was especially useful for creating fine features. It was commonly used to make double sided combs. Boxwood was also used to make lid boxes, also known as pyxides.
Size of lidded box
The type of wood that you use determines the size of the lidded container. Maple and cherry are most commonly used. These woods have great shrinkage rates and make great boxes. For a good quality box, the wood should be 3 inches squared and 5-6 inches long. Make sure the wood is dry when you choose it for your box. Exotic woods are an option for a visually appealing lid. But you need to be well-versed in the process.
First, prepare the wood. To smoothen and round the bottom of the box, a thin chamfer will be needed. Next, make a V shaped cut at the joint. Once you are happy with the shape you can use a spindle roughing gouge to shape the rest of your box. Before you start carving the lid, use a parting tool to mark the bottom of the box. To make a slight chamfer on your lid's base, you can use the skew chisel. This will soften your corner and conceal any slight circularity in the base/lid joints.
FAQ
How do I identify the type of wood that I am dealing with?
Always check the label before purchasing wood. The label should detail the wood species, its moisture content and whether it has been treated or not.
How long does it take to finish a piece of furniture?
It depends on the size of the piece of furniture. A smaller project like picture frames or boxes can be completed in a single day. Larger projects, like desks or dining tables require several days. It takes time to properly stain and seal wood.
What is the difference in a hobbyist and professional woodworker?
Hobbyists enjoy making things out of wood, whereas professionals focus more on the quality of their work. Hobbyists are proud of their creations and will often share them with family members and friends. Before they start working on a project, professionals will spend hours researching the designs. They will meticulously plan every detail of their work from choosing the right materials to finishing it.
Where can I find free woodworking plan?
Free woodworking plans are available online. You don't even need to buy books or magazines. You only need to Google search. You can search Google for "free woodworking" and hundreds of websites will appear allowing you to download plans.
Statistics
- Most woodworkers agree that lumber moisture needs to be under 10% for building furniture. (woodandshop.com)
- The best-paid 10 percent make $76,000, while the lowest-paid 10 percent make $34,000. (zippia.com)
- In 2014, there were just over 237,000 jobs for all woodworkers, with other wood product manufacturing employing 23 percent; wood kitchen cabinets and countertop manufacturing employing 21 percent. (theartcareerproject.com)
- If your lumber isn't as dry as you would like when you purchase it (over 22% in Glen Huey's opinion…probably over 10-15% in my opinion), then it's a good idea to let it acclimate to your workshop for a couple of weeks. (woodandshop.com)
External Links
How To
How do you accurately measure wood?
We use many methods to measure wood. We use a digital ruler (a tool to measure distances), laser level (used for leveling your work surface), and bubble level (used for levelling your work surface).
Two jaws are available on a digital scaler. One can open and the other close. The first jaw holds the object, and the second measures the distance between them. The digital scale is perfect for measuring tiny distances such as wood thickness.
Laser levels have an infrared light beam that projects a line across the floor. The laser emits red dots on the line. By looking down the line, you can see whether the surface is even or not. Laser levels are best for checking the accuracy of large surfaces.
Bubble levels look similar to a compass. There is a bubble in the center of the device. As long as the bubble remains centered, the device can tell you if the surface has been leveled. Bubble levels are great for checking the accuracy and precision of smaller areas.